The leaves are changing, the temperature is dropping, the holidays are drawing ever nearer, and you know what that means: It’s pie season. But pie can definitely be fickle, and tricky, and infuriating to make. You deserve an expert on pie—someone whose pies have been recommended by everyone from the Village Voice to the Food Network—to assist you with your most vexing issues.
I really like the store-bought pie crust I use. Is there any reason I should start making my own?
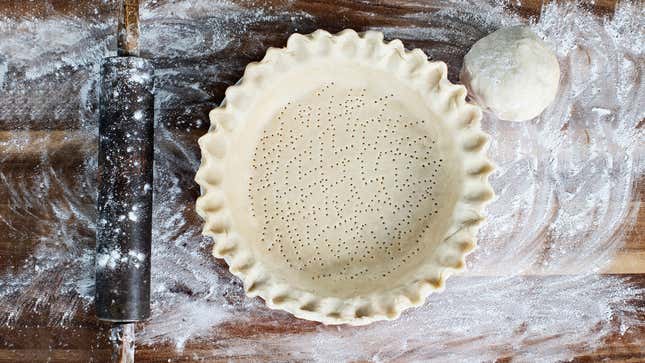
If you like the pie crust you’re using, there’s no reason you need to start making it yourself. I love making my own pie dough because I find it relaxing, but I can find it relaxing because I’ve been doing that since I was 13. If it’s stressing you out, or you simply just don’t want to do it, then it’s fine to use the packaged kind. The middle of the pie is where all the good action happens, anyway.
How do you make a lattice top crust? I always make a mess of it.
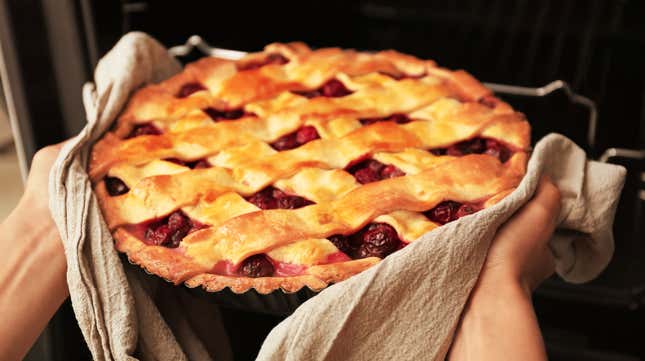
Nailing a lattice is all about paying attention and not rushing yourself. If you’re a beginner, don’t make your lattice directly on top of the pie—do it on a piece of parchment paper off to the side. Use a marker to draw a circle about 3" bigger than your pie plate, then flip the parchment over so you can still see the circle and not worry about getting ink on your dough. Once your pie has been filled, put it in the freezer to stay cold while you patiently work on the lattice. If the dough starts to get a bit too warm, put the parchment into the freezer for a few minutes to firm up a bit before continuing. Once the lattice is finished, slide it off the paper onto the top of the pie, then crimp the edges together and trim off any excess dough.
If you try that and you’re still not having any luck, do what my good friend and pie queen Cathy Barrow does: make “lazy lattice.” First arrange all your strips going one way, then turn the pie 90 degrees, add the rest of your strips, brush it with some egg wash, and sprinkle with a bit of sugar. Once it comes out of the oven, no one will notice the lattice isn’t woven. They’ll just be happy that they’ve got pie.
My apple pies always bubble over and end up burnt with pie goo all over the top crust. How can I stop that?
First, a quick tip: Whenever you’re baking something—anything—that could feasibly bubble over, put a baking sheet on the oven rack underneath it. If things bubble over onto the bottom of the oven they’re going to start smoking, and that smoke can impart a pretty unwelcome taste to your dish. A baking sheet will save your food, and save you from having to clean your oven.
Now, specific to apple pies: If your filling is bubbling over, it’s because there’s too much moisture in there. You’re probably tossing in some flour or starch to thicken all that up—plus apples contain pectin, which is what thickens up jams and jellies—but if there’s too much liquid to begin with, your apple pie will become an apple volcano spewing white-hot sugar lava, which is no bueno.
There are two different sources of moisture in your pie filling: the apples and the sugar. (In certain baking scenarios, sugar is considered to be a liquid ingredient, the complexities of which are something we’ll tackle another day. Pinky swear.) Firm apples like Granny Smiths, Honeycrisps, and Winesaps are referred to as “baking apples” because their cellular structure is strong enough that they not only keep from turning into mush when cooked, but also won’t be affected by the presence of sugar. Sugar absolutely adores moisture and will suck it up any chance it gets (us food folks call this hygroscopicity), so when you toss it with apples, it’ll begin leeching all that sweet apple juice, and that juice will, in turn, dissolve the sugar, turning it into liquid syrup. It’s the circle of life, in pie form!
To address your problem, we need to suck out some moisture before baking, which is crazy easy to do: Toss your cut apples in a bowl with a tablespoon of sugar (I like brown sugar, because it’s extra tasty), then leave them out on the counter for at least 30 minutes. Drain off the excess liquid into a glass (it’s delicious!), then make your pie as your recipe instructs.

What’s the best fat for me to be using? Butter? Lard? Shortening?
What matters is finding the fat that’s best for you, and that all depends on your personal taste. Some people like a super flaky crust, some like theirs tender and buttery. So, to start, just knock that “best” idea out of your head. The only person who needs to be impressed with your pie is yourself.
The first major difference between fats: flavor. We all know what butter tastes like, and pie doughs made with it—even if they’re failures—taste awesome. Shortening and lard are relatively flavorless, which isn’t a bad thing. Sometimes all you want from your pie dough is texture, and don’t want any additional flavors competing with your filling.
Next difference: temperature. Butter is soft at room temperature, and completely melts at temperatures not much higher than that: Around 90-95 degrees Fahrenheit. It’s important to note that butter is a fat/water emulsion—not 100% fat—which is why it melts quicker, thus making it harder for a beginner to work with. Making an all-butter pie crust has everything to do with regulating temperature and understanding the feel of the dough, and that takes practice.
Shortening and lard are both solid at room temperature: Lard’s melting point falls somewhere between 100-110 degrees, and shortening can hold its structure up to about 120 degrees. Many swear by these two fats to get an ultra-flaky pie dough, and they’re not wrong! A high melting point means that just about anyone can successfully make a flaky pie crust with either shortening or lard, while getting flakes with butter requires a bit of skill. If you’re a beginner looking for a more foolproof dough, use shortening until you begin getting more comfortable with pie, then you can make the choice to try your hand at an all-butter crust. If you really had your heart set on a flaky, buttery crust but don’t think you can pull it off, use butter-flavored shortening.
How far ahead can I make pie dough?
My philosophy on pie dough: If you’re going to go through the trouble of making it, you might as well make a whole bunch. Refrigerated, a ball of pie dough will last up to three days; frozen, three months. My personal pie process: I roll out several pie crusts into disposable aluminum pie pans, then freeze til solid. I then stack them on top of each other with a square of parchment between them and wrap well in plastic, or slide into a freezer bag. If you’ve chosen not to preroll your frozen dough, just leave it in the refrigerator overnight to thaw.